Monday 29 February 2016

Category: Things Sandra Bullock and I have in common....

Quote from Sandra Bullock:

"I like lists, I'm controlling, I like order. I'm difficult on every level!"

So....'Nuff said!

By the Way - Hi Liz D.. Thanks for joining us!

Remember the list of projects I want to do eventually - or things I'm currently working on? Well, I forgot to mention that I'm still finishing off my Camp project from last September, which I'll make sure I show you in future posts, and I totally forgot about the Irish cottage that Lousie McS. and I started and have to get finished as well. I have a couple of pictures of the cottage as it is right now. Louise has the windows made and I will be fitting them in and getting a door made and installed. Then we will be finishing the exterior, the interior, and making traditional Irish furniture to go inside. We will then be donating the cottage to the Irish Association for exhibit - or perhaps for auction - whatever they wish.


The pictures are a little dark but hopefully you can see it well enough to get the idea. The design is actually from a booklet put out by the Nutshell News many years ago. It was very easy to follow and put together. I'm looking forward to getting the time to put more work in on this.

One item I mentioned on my list was an IKEA greenhouse, or seed-starting frame that I saw on Maureen H.'s blog, St. Albert Minis. I loved the idea of it and I ended up buying two. The first one I will be turning into a greenhouse with attached potting shed. In the pictures below I included a 1/12th scale chair so you could get the idea of size. Again - sorry for the dark pictures.


My first challenge with the greenhouse was that I want the floor from the greenhouse to run continuously through to the currently non-existent potting shed. However, the base on the greenhouse has a border on it that would mean I have to raise the floor a little bit. While looking through my wood stash for something appropriate, besides finding pieces of 3/4 mdf that would be a good thickness, I also found two 12x12 sheets of 1/4" glass and stone tiles that, I thought, would look lovely as a floor.


So - step one - I will glue the pieces of mdf together to fit the length of the greenhouse, then will glue down the floor tiles and grout them. Of course, then I have to make plant benches, fittings, and lots and lots of plants and flowers. Luckily I have Marijke H. handy and will be able to pick her brain when it comes to the flower-making stage - yet another thing she does so well. It's a good thing that I have so many truly talented people around me given my lack of experience. I'm so grateful to have them around. I have plans!!!! I must go make another list. Sandra would be so proud!!!! TTFN!

Sunday 28 February 2016

But I Digress.......

...which, as we all know, is soooo unlike me!!;D

But, before I get to the thing before I get to the detailed pictures of the Mardi Gras lamp..., I have a message for Liz - Sorry I didn't say "welcome" to you (or to Maureen H. or someone from mini addiction (Kelly?)), but people who choose "follow by email" only, do not show under "followers". It's basically a service that allows people to receive the most recent posts by email so they don't have to remember to go to the site. I'm quite new at this and it took me quite a while after I received Liz's email to figure out how to find the people who are "following by email". It was quite a process. Bottom line - I welcome each and every one of you but the only ones I can see easily are those who also choose to be a "follower", even if they are following by email as well. I don't know why - it's a Blogger thing I guess. Sorry, I certainly didn't want to forget someone - Welcome all!!

Now, back to my original digression - Yes, I am going to show you close up pictures of the Mardi Gras room box but first -- and just to be perfectly clear, this is all Marijke H.'s fault - I have to show you something else! I was visiting Marijke the other day and she lent me a book of hers and one of her Dutch dollhouse magazines to have a look through. OMG!!!! Even though I could only understand one or two words here or there, the pictures in this magazine were very clear and the projects and ideas!! ---- I have GOT to get a look at the rest of her magazines!! There were several things that caught my attention in this one - the April/May 1999 issue of Poppenhuizen en miniaturen - but these are two that I have definitely added to my wish list of projects to do/ things to make. You remember that list, right? It's a good thing my lists are all computerized now because I don't think I have enough paper to write them all down, or the room to store the lists in if I did!

Anyway - take a look at these two miniature pieces of furniture. I HAVE GOT TO MAKE THESE!!!

The first is a campaign chair - something that a military officer would have access to in the field - no laying on soggy ground for them! The second is a campaign chest that would follow them on their military campaigns. It is basically two boxes, one that would hold clothes, etc., and the other would act as a writing desk and hold his private and military papers. Aren't they fantastic!!
They're on my list for sure!!!

So - these last pictures are close-up shots of some of the details of the Mardi Gras lamp. I'm not really happy with them as they are quite fuzzy. If I can get better pictures in the future, I will replace these. For now, I am showing you the masks that poor Martine was wearing when she was following her fickle fiancé, a beautiful set of perfume bottles next to a sweet little potted geranium given to me by Marijke the first time she and I, Louise and Susan met for the first time and formed our local mini club, a little incense jar, Martine's crystal ball, and of course - our lovely, innocent little doll still laying in the chair where he was tossed. All of these items, except for Marijke's geranium, were "tidbits" from the talented participants of Camp Mini Ha Ha however, I am very ashamed to say I cannot remember which I got from whom. Remember in an earlier post I mentioned about journaling your mini acquisitions and projects? This is why!! If anyone out there recognizes their work and will contact me I will rectify this embarrassing situation! Also, from one of the sellers at Camp I purchased the little basket behind the chair (that's where Martine keeps her doll-making supplies!). There were several of our participants who had wonderful minis for sale and, again I am ashamed to say, I can't remember who I bought this from! Shame on me! Someone please help me sort out the mysteries!


Below is a picture of the incredible Fererro Rochers made by Rhonda Lynn from PEI (yes, many real-life Ferrero Rochers were sacrificed in the making of these chocolates!) and, of course, the cocktail we each received from Liz D. Finally, one last shot of the interior and that's it for the Mardi Gras lamp. Next post we get to move on. Aren't we all glad about that! TTFN


Saturday 27 February 2016

Crossing the Finishing Line!!!!

Honest - I really am going to show you details of my finished Mardi Gras lamp today! Would I lie to you???? Of course not!

But...before I do that...:D... I'd like to welcome Wanda to my followers list. Another very talented miniaturist herself, Wanda also does interior design in her real, big-world life so is a great person for advice on finishing touches. I will definitely be picking her brain for ideas (but don't anybody tell her - she might change her contact information before I can reach her!) :D :D

So, my last post left off with pictures of my lamp before the door trims had been added or the furniture and accessories added. So, here goes....


Here you can see the doors have been trimmed and a shelf added above the door. I found that bead in my stash that looked like a beautiful little pot and was the same colour as the doors. I thought it would look good on the shelf and repeat the door colour for consistency. Now you can probably see the trim I was talking about yesterday. Rather than a 90 degree angle of a usual corner trim, this trim was a perfect angle to fit around the diagonal wall. The problem was then how to fit the flat, upper trim into it properly. Well, as you can see if you click on the picture to enlarge it, - I didn't exactly accomplish that. Oh well, you should see the trim in some of the rooms of my real house!
Do you remember when we started this Mardi Gras journey, I said I had to develop the story before I could imagine the room? I also promised I would share the story with you at some point. See - I do keep my promises! So here's the story about this little room:

This little 2nd floor apartment is in a beautiful old building in a beautiful old section of New Orleans. It's owner, Martine, is a lovely young woman in her late 20s, born and raised in New Orleans. As an adult living in this fascinating city she has come to appreciate the dichotomy of the steel and glass buildings of modern New Orleans while never forgetting the underlying wisdom and superstitions of the old. She thrived on the stories and skills learned at the knee of her grandmother and honours all those who had gone before by finding a way to blend the old with the new. Lately she has been completely engrossed in planning for her upcoming wedding to one of the handsomest, most wonderfully attentive men she has ever met.

However, in the last few weeks something strange has been going on that is distracting her from her planning process. She has begun to hear little whispers behind her back...conversations stopping when she enters a room, people she has known all her life treating her with kid gloves and giving her looks which, if she didn't know better, she could swear looked like sympathy. She started paying closer attention and pieced bits together here and there. There was a disturbing trend for sure. It seemed that people were talking about her wonderful soon-to-be husband and she began to worry that perhaps he wasn't as wonderful or as attentive as she had thought.
Since it was the week before the beginning of Mardi Gras and masked and costumed people were already starting to fill the streets in anticipation, Martine decided to go through her old costumes and, using a different mask every day, she would follow her love and confirm he was indeed what she thought he was. Unfortunately, she had seen enough to give her great pause as she contemplated her future.


But - enough of that for now. Tonight was a special night and she was going to celebrate. She mixed her favourite drink and gathered her favourite chocolates and was going to curl up in her favourite chair with a good book for a wonderfully peaceful evening where she could forget all her doubts and worries. However, after placing her drink and chocolates on her chair-side table, she heard a commotion outside. Running out to her balcony she saw a crowd gathering in the street about a block away. In the middle of the group she glimpsed a body lying on the sidewalk- limbs akimbo, face apparently frozen in horror and, most definitely dead! Oh my, it was indeed her betrothed. On shaking limbs she stepped back into her apartment. She needed to sit down but first..........
.......perhaps, she thought, a slight smile beginning to form on her beautiful face, first she should move that voodoo doll she had thrown into her chair a few moments ago.

So - there, my friends, is the story, and here is the finished project.
Yes - I know I'm a sick puppy but hey, that's the way I swing!

Next post, I'll try not to be so macabre :D. I'll tell you then about the details within the room before we move on. I promise! TTFN!

Friday 26 February 2016

Finishing touches

Well, a warm welcome to Debbie P. and Kelly P. who have joined this blog as followers. These gals are both wonderful miniaturists who I first met at Camp in 2014 and am looking forward to seeing them again this fall!

Now that you've had a grand tour of our Camp activities in 2014 I bring the story back to my room box which, on leaving Camp, still had quite a bit of work to finish. In an earlier post, I mentioned that, because I wanted to hang my little demon mask above the balcony door, the door height was shorter than ready-made doors. Not one to be deterred by lack of experience, or even skill sets, come to think of it, I arrived fresh back home from Camp with a renewed determination to do it myself. How does one compensate for lack of experience and skill sets??? - They surf the internet of course!! In my case I didn't have to surf very far since I was already a regular follower of Kris Compass's blog "1-inch minis by Kris". There are so many wonderful tutorials on Kris's site, including one on making your own doors from paper products like mat board and card stock. Her pictures and instructions are so well done, they gave me the confidence to jump in with both feet and "just get 'er done"!

On Kris's site, the door in the tutorial is a regular six-panel door. I wanted French doors (after all - it's for a balcony in the French Quarter!!). So - very little experience, skill sets in early development stages, and tutorial for a completely different door - what could possibly go wrong?? Luckily, as it turns out - very little. I'm actually quite proud of the way they turned out. If I was doing a review of Kris's door tutorial I'd have to give it top marks for clear instructions, lots of pictures, and easily adaptable...and here's the results:


I took careful measurements of the door opening and built a door frame from thin strips of wood (the tutorial uses mat board). I dry fit the frame to confirm fit, then stained the wood to match the floor and trim colour. While the stain was drying I cut out three layers of mat board for the doors, cut out a mullioned section in two of these and a full rectangular opening in the layer that would become the middle of the door. I also cut out a square "panel" section in each of the two outside pieces of the "sandwich". Since I wanted to continue the French theme, I found some fleurs-de-lis charms in my stash, cut off the rings from the top of them, and installed them on the middle layer of the door - both sides. After putting the layers all together, with pieces of acetate on both side of the middle section for the windows, and letting the glue dry thoroughly, I cut them down the middle to form the two French doors. I used a narrow strip of card stock to disguise the edges so the three layers would not be seen, waited for all the glue to be thoroughly dry, then I painted them a shade of blue I see often in pictures of New Orleans architecture. When that was dry, I installed the two doors in the frame, using cut off pins through the top and bottom of the door frame into the corner of the doors, to act as "hinges". Then I used very short pieces of pins with small crystal beads to install "door handles" on both sides of the door. In my opinion, not too shabby - except for the degree to which I wanted them to look shabby, of course.... Did I forget to mention that I also stained some baseboard and started to install it and I also hung a set of wired sconces on either side of the mirror?
With this done, it took me some time to find something to trim the sides of the door because the walls were at an angle. In my wood stash I happened across a small section of trim that was at a strange angle too. What it is usually used for, I have no idea. But it worked well for me and that's what counts! I cut an upper trim as well as a shelf to go over the door, stained them and installed them.

Then I went hunting through my ever-expanding stash for furniture and accessories to finish this, my first full-size project. Yeah!!!!

And - you'll see those results on the next post.

Tip for today: Regardless of what level of expertise you think you have, or don't have - don't let someone convince you something is too difficult for you to even try. I went into this believing that I could make my own doors and, even though others may have been initially skeptical, I ignored that and went ahead anyway. They may not be perfect but the feeling of accomplishment I got when I finished them was well worth the effort. Just get 'er done!! TTFN

Thursday 25 February 2016

So much Talent.....

First - welcome to two more followers: Shauna D. and Louise McS.! Okay, one is my daughter and the other my good friend so maybe I'm cheating if I count them but hey - my family and close friends have always been counted as number 1 on my list so yes, they do count!!!

Onwards and upwards! I've been sharing with you my experience with my first trip to Camp Mini Ha Ha in 2014 and the title of this post says it all. I learned so much in the 5 days I was there, not just by the hints, direction and assistance I got on my own project, but by watching all of the truly talented people who surrounded me with inspiration. I'm sorry I didn't get pictures of all of the other participants' projects but I will show you the rest of those I do have.

In these next two pictures you can see the finished product of one of the dressed mannequin workshops. We each got to produce one of three different styles under the watchful eye of instructor, Judith Blondell. I have pictures of two of the styles but, for some reason, didn't manage to catch the 3rd one. Sorry! The photo on the left also showcases a hand-painted mini piece of art on the easel. I believe that is one of Sherry P.'s beautiful paintings and, if memory serves me correctly, it was a giftie received by the maker of this room box. Another giftie is found in this room box and shown in more detail in the picture on the right. This table was obviously made with the "Mardi Gras" theme in mind and the detail is phenomenal! It shows the workspace of someone getting their masks and costumes ready for the exciting Mardi Gras activities to come. Beautiful! So, you ask, - what's a "giftie"? One of the fun things at Camp is that each participant brings 5 items which would be worth around $15 - $20 if on the retail market and we have a gift exchange each of the 5 nights we are there. We also all bring enough "tidbits" (small items worth around $3 - $5), to provide one for each participant. Then, at lunchtime each day we receive a bag at our seats in the dining room with 6 - 8 surprise little "tidbits". We all get so excited about those little bags, we can hardly wait to get to lunch each day!!


Two more works in progress: the one on the left again shows one of the finished mannequins being temporarily put in place along with a beautiful hand-made shelf unit that was another "giftie", I believe. The insert on the right is shaping up to be very elegant. If I get the chance to find pictures of the finished product of any featured here, I will do a follow-up to let you see how they turned out.


The last example I have that used the kit as it came - with a back wall and floor only, belongs to Adrian C. It features a fireplace she carved and built with little niches all through that will be inhabited by all the little mice you can see in the bottom corner of the room's floor. I wish I had a shot further along. It was so well done with the owner fast asleep in his comfy chair while all the little mice carried on their everyday lives all around him. (I believe he was actually a bear, if memory serves me right but hey - it's been over a year and a half!)


Moving along to those of us who added an additional wall to our projects, the one on the left is by Jo-Ann S. It's early in the process here and she's left a space to add a stone wall behind her fireplace. The finished project is a cozy cabin that includes many of her own high-quality hand-made leather and other items. I'll try to get finished pictures for many of these at some point - they really need to be seen!
A couple of more examples:
Below is Aleeta's indoor/outdoor scene under construction, then looking very different all decked out! Included are items like her own hand-made luggage, the beautiful chair in the background, her dressed doll - all gorgeous!


I think Lynn, one of our Fredericton contingent, and a first-time Mini Ha Ha participant, was one of the few Campers, if not the only one, who actually managed to complete her project while at Camp. She did a great job on this indoor/outdoor room box (below).


To close off this long post, I bring you a couple of pics of our Saturday night dinner. Each year, participants dress up on Saturday night in keeping with that year's theme so - welcome to Mardi Gras!!! Sorry for the length of the post but I hope you got some enjoyment from it. TTFN!


Wednesday 24 February 2016

My Mardi Gras journey continues....

First, I'd like to welcome Diane, from Florida, as my second "follower". It really is nice to know I'm not alone out in the mini-world! Thanks for visiting Diane.

Continuing on from my last post I'll show you the work I managed to get done on my project while at Camp, and give you a look at other Campers' projects to see how differently one project can be interpreted. There were some really beautiful ideas represented, that's for sure. Then we'll take a look at how I finished the project once I got home.


While I was at Camp, after I applied the textured brick paper I also wallpapered the right wall with a textured wallpaper - almost like a grass cloth. The colour went well with the dark stain of my floor and trims. Then, I managed to get the floor laid, sanded and stained. (The camera seems to make the colours look different than they actually are. The floor on the balcony actually is very close to the colour in the picture that it runs into. Here, in the picture, it looks more brownish than the grey it actually is.)I made a plant to tuck in the corner on the balcony just to add a sense of depth and continuity. I stained and installed a thick shelf and applied it to the main wall with a large sparkly mirror above it.


Lastly, I installed my little demon-looking fellow over where the French doors will be. I so wanted to use this little guy - he just appealed to me on some subliminal level and seemed perfect for an apartment in the French quarter of New Orleans! However, in order to use him above the door where I wanted him, the door opening is shorter than would accommodate a ready-made set of doors. That didn't bother me because I figured I would just make my own. As I was working away one of our wandering Divas - Iris - came to have a look at my progress. When I told her I would make my own doors since they were not a standard size, and since she knew this was the first full mini project I had ever done, she asked, with a slight skepticism, I'm sure, whether I had ever made my own door before. When I said no, I hadn't, she just smiled and patted me on the shoulder for good luck. Iris, who is an incredible artist when it comes to using chalks and paints to create gorgeous finishing effects, had showed me earlier how to paint my balcony floor so it would blend better with the floor on the picture, and to create shadows on it in the proper way by determining where the shadows would fall in real-life and creating those shadows in mini. (Love you Iris!)

So, with time taken out to complete the secondary workshop with Judith Blondell - the dressing of a mannequin in period dress - that was all the work I accomplished on my lamp while at Camp. Here are some more pictures of Camp Mini Ha Ha 2014 as well as other people's work in progress - sorry I don't have pictures of their finished projects for you but you get the idea, at least, of how very different they all were. I think, if you click on the pictures, they should come up in a larger size in a separate window.


This is Marijke H.'s work in progress - I will have finished pictures of this you'll see in a future post.


Nancy's project (above): She made her own floor, piece by piece, and brought it with her to be installed in her beautiful room. the floor was absolutely gorgeous!

Well, I think this post is getting quite long enough for one day so, next post I'll provide pictures of other Campers' works-in-progress and, hopefully leave enough room to show you my finishing steps for my own Mardi Gras room box/lamp.

Tip for today:
When using narrow strips of wood, popsicle sticks, coffee stirrers, etc., to lay your floor, do not glue the whole piece of wood as it will be more difficult to make it lay flat after drying. Instead, place dots of glue, spaced 1/2 to 1 inch apart down the length of the wood strip and press it in place. Trust me - the floor stands a better chance of not warping because you will not be wetting down the whole, porous, length of wood.

TTFN!


Tuesday 23 February 2016

Laissez le bons temps rouler!!!

Okay - I know this is not grammatically correct in French (s.b. Prenons du bons temps!) but this post is all about my New Orleans/Mardi Gras, Camp Mini Ha Ha project from 2014 and that's how they say it in New Orleans! When in Rome, and all that...

...but, before we get to that...I have my very first "follower"! It's Marijke H.! Thank you Marijke. For those who don't know (I have mentioned this before in the "Canada's Minis" Yahoo Group), Marijke H. and I, and a few other like-minded souls, are founding members of the "mini lovers mutual admiration society". It is indeed a rapidly growing list of people who so much appreciate the talent and generosity of these wonderful people we meet while pursuing our hobby - or obsession.

Back to the topic of this post - When I first met up with the people who are now my F.A.M.E. cohorts, Marijke was the person who talked me into my first Camp Mini Ha Ha at the Annapolis Basin Conference Centre in Nova Scotia. I was somewhat reluctant for a couple of reasons:

1. The project for 2014 was to build a room box that would become a lamp base. The theme for the workshop was "Mardi Gras". I couldn't imagine why I would want a lamp with a room box in it, nor could I imagine why I would want anything dealing with Mardi Gras.
2. I have never been a person who goes for a night out or a weekend with "the girls" or to attend group activities - I'm somewhat of a hermit, truth be told. So, the idea of a 5-day workshop was a little intimidating for me. I was worried that I would get to Nova Scotia, feel uncomfortable, and want to come home, after forking over a lot of money to be there.

Well, were my eyes opened! I had such an incredibly great time, met so many wonderful people, and learned so much I can't imagine ever wanting to miss a Camp session again!

As for the project itself, I thought and thought about it for the several months between initial registration and the beginning of Camp. I had a really hard time getting my head around what I would do with a Mardi Gras theme that I would actually like (although the theme is always just a guideline - Campers are encouraged to do whatever they want with their projects). In the end, I came up with a whole "story line" and the room box ideas rapidly fell into place. I'll tell you the story as we go.

This could turn into a really long post so, sorry, but I will break it into two parts. Today - a little more about my Camp Mini Ha Ha 2014 experience.

We arrived on Wednesday afternoon and got settled in. After a great meal in the dining room we retreated to the lounge where our fabulous team of organizers (self-titled "Divas") put together an evening of fun to allow everyone to get acquainted (there were 5 first-timers in 2014, of which I was one, and 31 returnees) and get a feel for what we could expect.

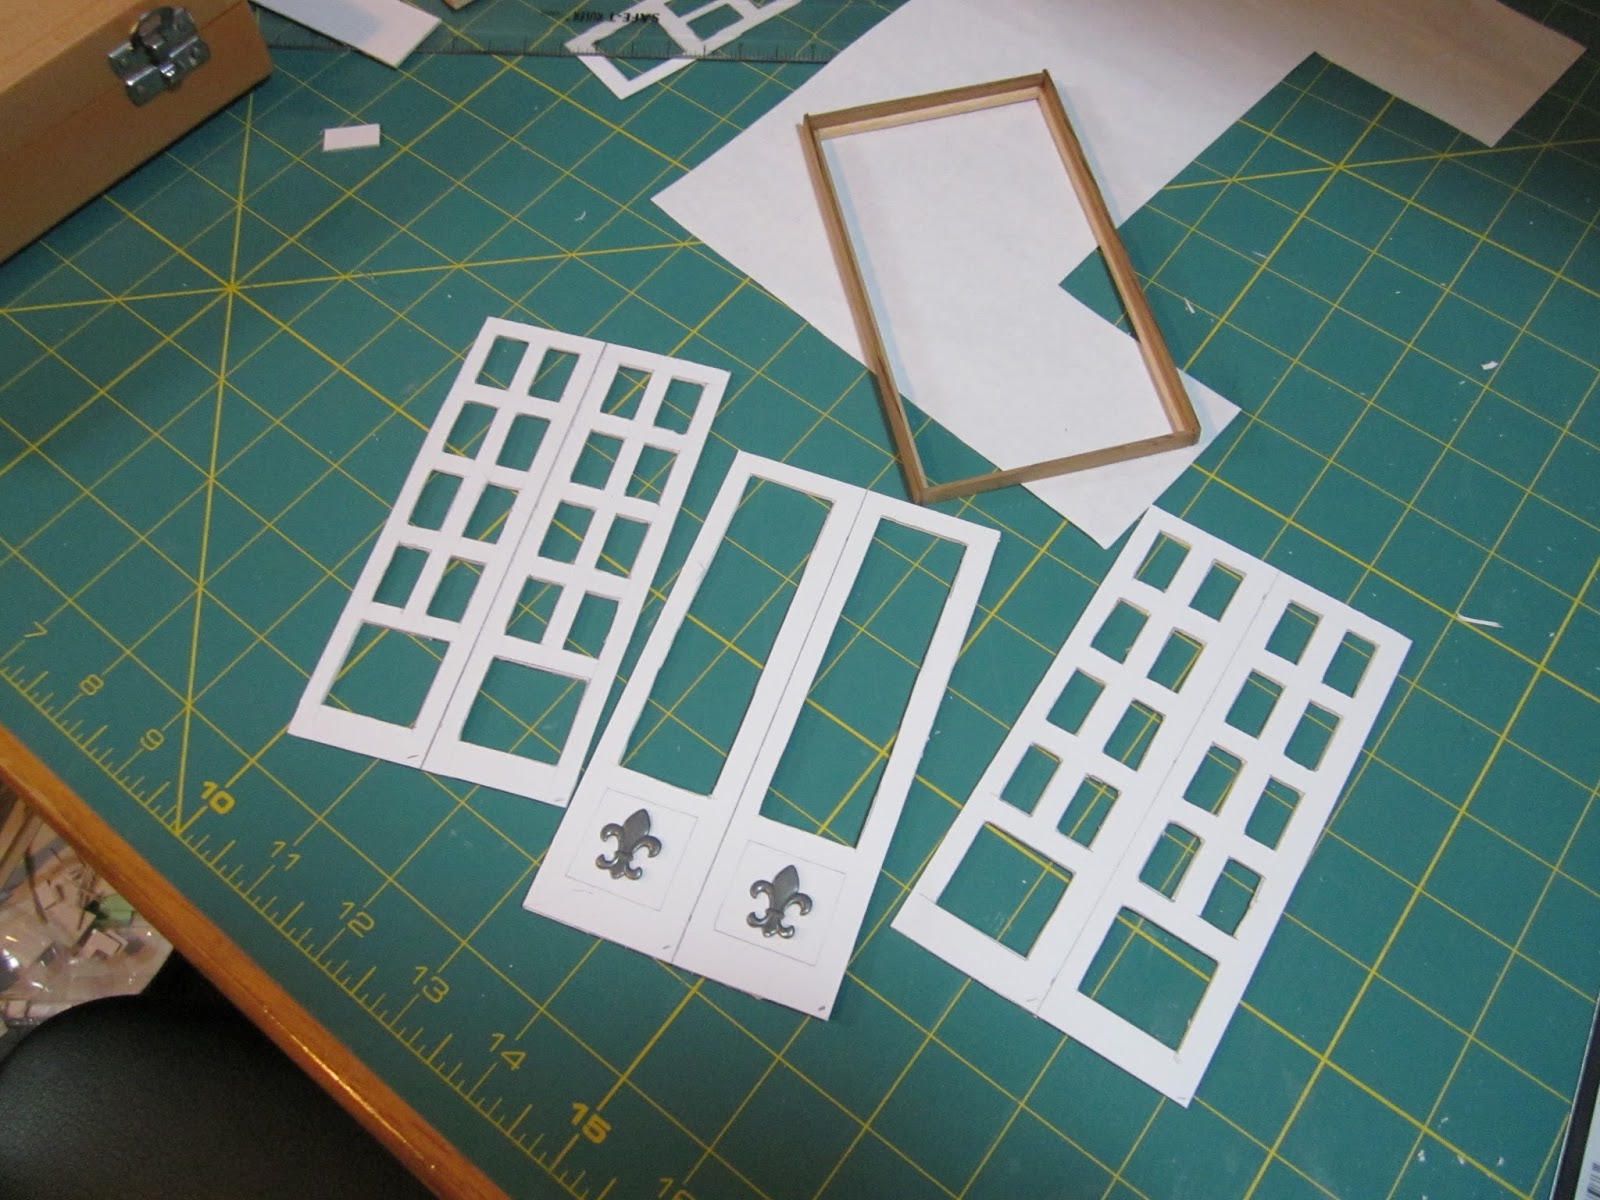
Bright and early Thursday we were up, to the dining room for breakfast, then a short stroll down the hill to the workshop rooms. We were provided with our kits which included the wooden frame for our lamp base, the gator-board pieces for our floor and back wall insert, a lighting kit to turn our room boxes into an actual full-size table lamp, and the materials we would need for our secondary workshop - dressing a mannequin with Judith Blondell teaching. Everyone put their heads down, got their frames glued together and got started on their inserts.


I, on the other hand, went looking for Wayne D., our wonderful all-round craftsman and Camp assistant. I found him in "Wayne's World" - his on-site workshop and explained to him that, for my "vision" to work I needed to have a side wall cut as well as a wall that would sit diagonally across one corner to enable me to have it look like a 2nd-floor apartment with a balcony. Always polite and supportive, Wayne delivered exactly what I asked for, rather than pointing out to me how fine the line can be between a "vision" and a "hallucination", and I was on my way.

So, here was the beginning of my room box insert. The first picture shows the back and side wall attached to the floor and the lines I had drawn on the walls to indicate where the diagonal wall was going to go. The second picture shows the diagonal wall in place, a New Orleans picture installed with a view from a balcony, and textured brick paper installed. I laid floor boards in the balcony area which followed the angle of the floorboards in the picture. I will be staining that portion a weathered grey to match the floor in the picture. I have just begun to lay the floor in the main part of the room.


So I will continue the rest of this saga in my next post. I leave you with a tip for the day. TTFN

Tip for today: Having trouble deciding what your project should look like, or even what it should be? Stop worrying about the actual project and concentrate instead on the story you want to tell. Once you have the full storyline in your head, the project details will quickly fall into place. A room box or mini building without a story is just a static placement of architecture and furnishings. They need their own background story to make them shine!


Monday 22 February 2016

Promises, Promises....

It has been said that promises are meant to be broken. As I don't actually subscribe to that theory I thought I would review the few posts I have made to make sure I haven't broken any promises already. Well, it seems I have promised to show you my first Camp Mini Ha Ha project today but I also promised to review the "wish list" I presented two years ago in my second post and see where it stands today. Today - I'll deal with a review of my old wish list.

So - my wish list from two years ago included:


1. a plywood box my husband made for me to do a Christmas scene in it - I actually did do that scene, displayed it for one year then didn't like it anymore. The next year, I took a few of the pieces and displayed them on top of my buffet. I had originally just taken a Chrysnbon table and chair set and one of my Michael's cabinets and painted it in "Christmassy" colours and developed a scene around it with Christmas pictures, a sled, etc.
Now, I think I'm done with that - not just the scene but the furniture as well. I'm probably going to repaint the furniture to cover over the Christmas colours and figure out something else to do with it. See the beautiful table of desserts next to the table? That was made by Kathy N. (from Wisconsin I believe). She is one of our Camp Mini Ha Ha participants and I was lucky enough to receive this at one of our gift exchanges. Beautiful work - and so scrumptious looking!


2. A replica of the image from "The Bookworm" by Carl Spitzweig". Okay - I love this painting and, some day would like to attempt it. I have some beautiful mahogany bookcases that will fit this scene well but, for now, it remains on my wish list --- way down on my wish list!


3. Christmas scenes like the beautifully decorated windows we used to admire in the Eaton's, Bay, and Sears stores in Toronto. Well, this idea is still very much on my wish list but, in my mind, has evolved into a series of 5 Christmas scenes. Three of these will be based on pictures I have of windows at The Bay in Toronto from a few years ago. The window scene I picture here would be the 2nd in the series. I WILL definitely do these! This series remains on my wish list - but quite high on my wish list!

4. A Paris bistro - still on my list but moving down in priority. Likewise number 5 - the Irish pub, and number 6, the lighthouse and residence.

I will get around to them all eventually but - there's so many ideas, so little time!!

By now you're probably wondering, if all of these things are on my wish list - is there anything I'm actually doing? Well, I'm glad you asked.

I have two Camp projects under my belt now - one completed and the other just needing some finishing touches. I will show these in posts over the next week or so.

Recently I cut out two shops that I will be making into quilt shops - one for me and the other for my sister. I will post pictures and descriptions all along the way for these. Also - I purchased a greenhouse from IKEA that will become a greenhouse with attached potting shed and I have the bare bones together of a building that will become a wizard's emporium for my granddaughter. And - because that can't possibly be enough, when September comes around I will be working on this year's project at Camp - just to fill in my spare time!

Okay - admit it - you're all just like me!!! Lots and lots of ideas, almost as many projects on the go. Isn't it all great fun?

Next post I will fulfill my other promise and show you the details of my Camp projects. TTFN!